Connecting WiFi Extender to Router: Complete Guide
Introduction
In today’s digital age, maintaining a robust home network is crucial for uninterrupted internet access across all devices. As our reliance on connectivity grows, Wi-Fi extenders have become essential tools for expanding the reach of our existing networks. Incorporating a Wi-Fi extender into your home setup can significantly enhance your internet experience by eliminating dead spots and ensuring seamless coverage. Understanding how to connect a Wi-Fi extender to your router correctly is the cornerstone of optimizing your network’s performance. This guide is designed to walk you through each step meticulously.

Understanding Wi-Fi Extenders and Routers
To configure your home network effectively, it’s essential first to comprehend the roles of both routers and Wi-Fi extenders. Your router acts as the gateway to the internet, distributing signals to various devices like phones, laptops, and smart gadgets throughout your home. However, its range can be limited, especially in larger homes, often resulting in dead zones.
This is where Wi-Fi extenders come into play. Also known as repeaters, these devices capture and rebroadcast the router’s signal, extending the coverage area and ensuring consistent internet access even in the farthest corners of your home. Grasping their functionalities will facilitate a smoother installation process when setting up your network extension.
Preparing for Installation
Preparation is key to a successful setup, and this starts with gathering all necessary components. Ensure you have your Wi-Fi extender, router, power cables, and any manuals available. Your router’s network name (SSID) and password should also be on hand for an uncomplicated setup.
- Placement Considerations: Select an ideal location for your extender, which should be within your router’s coverage yet close to the area’s weak signal.
- Connect the Power Supply: Plug the extender into a power source at your chosen location, giving it time to initialize.
- Ensure Router Readiness: Confirm that your router is working properly, with updated firmware and active SSID broadcasting.
Setting up a strong foundation with proper preparation can stave off common complications and create an efficient installation process.
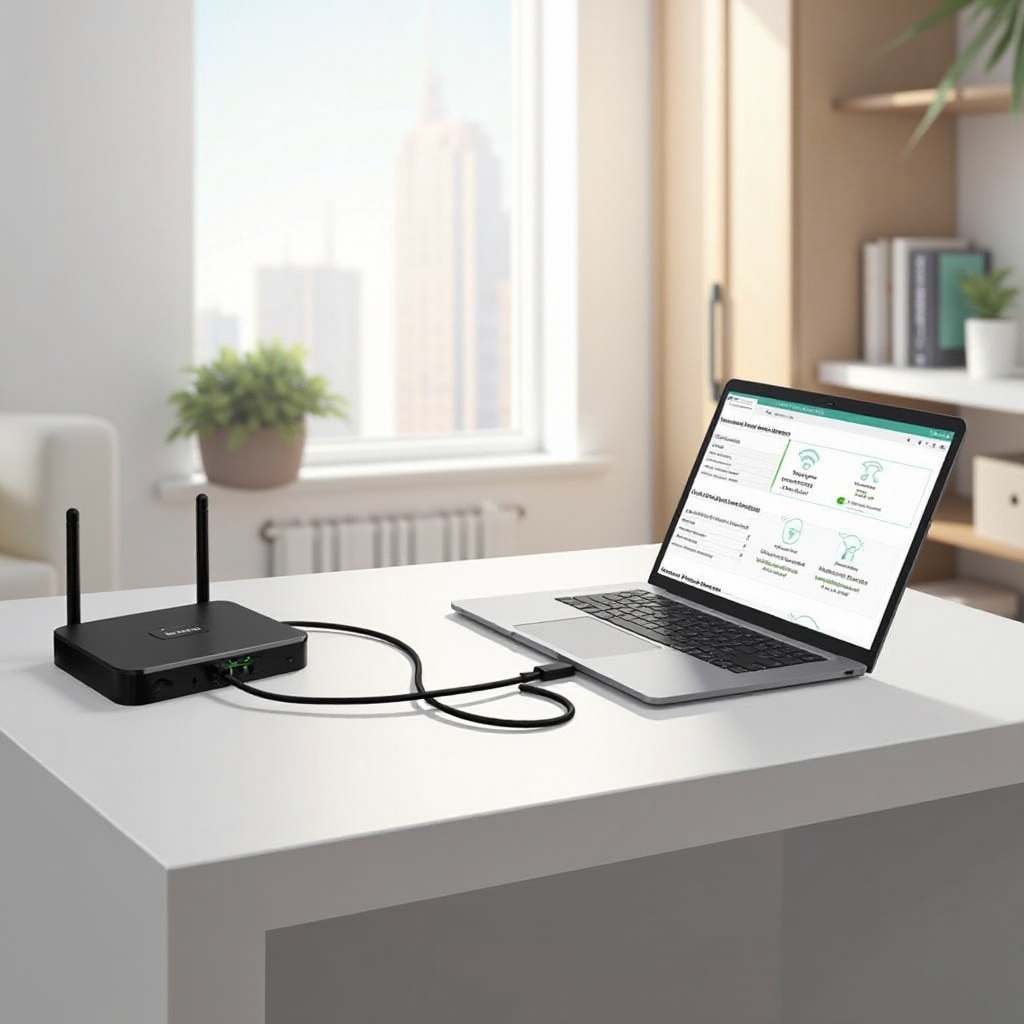
Connecting Your Wi-Fi Extender
With the preliminary steps completed, you’re ready to connect your Wi-Fi extender to your router. Choose the method that aligns with your setup preference.
Method 1: Using the WPS Button
- Find the WPS Button: Identify the WPS button on your router and Wi-Fi extender.
- Activate WPS on the Router: Press the WPS button on your router; the blinking light signals readiness to pair with compatible devices.
- Activate WPS on the Extender: Within two minutes, press the WPS button on the extender. A steady LED indicates successful pairing.
- Check Placement: After connection, relocate the extender to your desired spot, ensuring it’s within the router’s range.
Method 2: Manual Setup via Web Browser
- Connect to Extender’s Network: Access your device’s Wi-Fi settings and connect to the extender’s default network.
- Navigate to Setup Page: Enter the extender’s IP address into a web browser.
- Login with Credentials: Use default credentials to access the setup wizard.
- Select Network: Choose your home network’s SSID from the list.
- Enter Network Password: Provide your router’s password for secure connection.
- Finalize Setup: Follow additional on-screen instructions to complete configuration.
Each method has its advantages; WPS is quicker and simpler, while manual setup affords more customization.
Troubleshooting Common Connection Issues
Despite careful setup, problems can occur. Here are some frequent issues and their solutions:
- Weak Signal: If the extender’s signal is poor, try moving it closer to the router.
- Incorrect Password: Double-check that the correct network password is entered during setup.
- Firmware Outdated: Update router and extender firmware to address compatibility issues.
- Signal Interference: Avoid placing the extender near devices such as microwaves or cordless phones.
Most issues result from interference or configuration errors and can be remedied by following these troubleshooting steps.

Enhancing Performance and Security
Satisfied with your setup? Here are additional tips to boost your network’s performance and security:
- Regular Updates: Keep devices up-to-date for peak performance and security.
- Strengthen Security: Change default extender passwords to safeguard access.
- Optimize Placement: Experiment with extender locations for optimal coverage.
- Manage Devices: Limit the number of devices connected simultaneously to reduce congestion.
Implementing these practices helps ensure an efficient and secure network.
Conclusion
Connecting a Wi-Fi extender to your router doesn’t have to be a complex task. With a structured approach, you can enhance network coverage seamlessly. Whether choosing a swift WPS setup or a detailed manual installation, each method aims to bolster your connectivity. Be equipped with troubleshooting skills to address potential issues, ultimately enjoying an enriched home internet experience.
Frequently Asked Questions
What is the difference between a Wi-Fi extender and a Wi-Fi booster?
A Wi-Fi extender replicates the router’s signal to extend coverage, while a Wi-Fi booster amplifies the signal strength for improved connectivity over longer distances.
Can I use multiple Wi-Fi extenders in my home?
Yes, multiple extenders can be utilized, but plan their placement carefully to avoid signal interference and ensure effective coverage without overlap.
How far can a Wi-Fi extender be from the router?
Typically, a Wi-Fi extender should be within 20-30 meters (65-100 feet) of the router. Experiment with placement to ensure optimal performance.