How to Resolve Stuck Keys on a Mechanical Keyboard
Introduction
Typing or gaming with a stuck key on a mechanical keyboard can be exasperating. While these keyboards are famous for their durability and tactile feedback, they are not immune to occasional issues. Addressing these problems quickly helps maintain your keyboard’s performance. This guide provides a comprehensive look at identifying the causes of stuck keys, implementing quick fixes, cleaning methods, advanced troubleshooting techniques, and preventive care. Whether you’re a seasoned keyboard enthusiast or someone encountering this issue for the first time, this guide aims to help you resolve sticky keys efficiently.
Common Causes of Stuck Keys
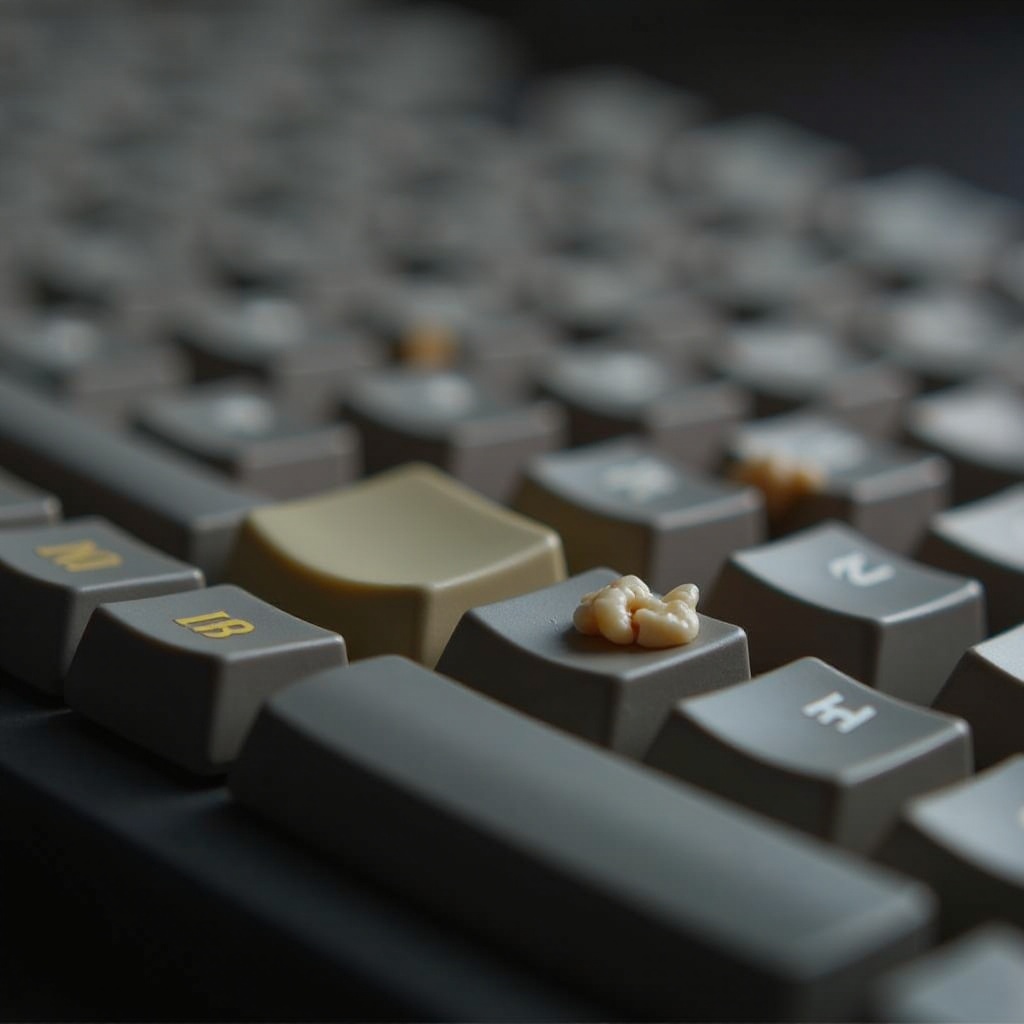
Before tackling the solution, understanding why keys might get stuck is essential. Accumulation of dirt and debris like dust, food particles, and pet hair is usually the primary cause, inducing stickiness over time. A malfunctioning switch due to wear or age could also lead to keys being perpetually depressed or unresponsive. Spills of liquids that seep under your keyboard often result in sticky keys. By diagnosing the underlying cause, you can tailor your approach to fixing the issue efficiently.
Quick Fixes for Stuck Keys
With a good understanding of potential causes, you might resolve the problem with some quick fixes before considering a more thorough clean. Here are some that might work:
Inspect for Visible Obstructions
- Ensure your keyboard is turned off and unplugged.
- Tilt it upside down and gently shake to remove loose debris.
- Use a can of compressed air to blow out crumbs and dust carefully.
Perform a Key Press Test
- Repeatedly press the stuck key to see if it becomes responsive.
- Listen for a popping sound, which may indicate debris dislodging.
If these measures don’t work, a more detailed cleaning might be required. Cleaning often resolves problems not fixed by quick checkups.
Cleaning Your Keyboard
When quick fixes fail, thorough cleaning becomes necessary. Regular maintenance not only tackles sticky keys but also extends your keyboard’s life.
Tools Needed for Cleaning
To clean your mechanical keyboard effectively, gather these tools:
– Keycap puller
– Soft or microfiber cloth
– Isopropyl alcohol (70% or higher)
– Cotton swabs
– Compressed air canister
Step-by-Step Cleaning Process
- Remove Keycaps: Carefully use the keycap puller to detach keycaps from the sticky and nearby keys.
- Clean the Switch: Dampen a cotton swab with isopropyl alcohol and gently clean the exposed switch area.
- Clean the Keycaps: Submerge keycaps in soapy water, then rinse and dry them thoroughly.
- Final Wipe and Check: Lightly moist a microfiber cloth with alcohol to wipe and clean the keyboard’s surface.
Thorough cleaning often revives keyboard functionality, clearing away whatever’s impeding the keys. If the issue persists, consider deeper troubleshooting methods.
Advanced Troubleshooting Techniques
Should regular cleaning prove insufficient, more advanced steps may be needed, focusing on the keyboard’s mechanical parts.
Removing and Examining Keycaps
- Remove the affected keycaps with a keycap puller.
- Examine the switch and surrounding area for wear or damage signs.
Lubricating and Replacing Switches
- Apply switch lubricant suitable for mechanical keyboards to enable smoother keypress.
- Consider replacing affected switches. Expert involvement might be required due to soldering.
These advanced interventions can solve deeper mechanical problems beyond the scope of routine cleaning. Regular upkeep is essential after fixing to prevent future issues.
Preventive Maintenance Tips
For long-term keyboard health, integrate preventive maintenance into your routine.
Implement Regular Cleaning Routines
- Arrange monthly comprehensive cleaning.
- Conduct weekly light cleaning with compressed air to mitigate debris build-up.
Use Protective Covers
- Invest in a quality keyboard cover to protect against spills and debris.
Proactive steps can prevent recurring stuck key issues, allowing uninterrupted keyboard use.

When to Seek Professional Help
If all else fails or if hardware troubleshooting seems daunting, consider professional assistance. Experts can replace faulty switches or conduct an in-depth clean. This ensures your keyboard operates smoothly with minimal disruption.

Conclusion
Fixing a stuck key on a mechanical keyboard involves identifying causes, implementing quick fixes, conducting thorough cleaning, and engaging in advanced repair techniques where necessary. Incorporating preventive measures will significantly lower the risk of future issues. Don’t hesitate to seek professional help if problems persist. With careful attention and timely action, you can prolong the durability and responsive nature of your mechanical keyboard.
Frequently Asked Questions
How often should I clean my mechanical keyboard?
For optimal performance, clean your mechanical keyboard every month and perform a quick clear-out weekly.
Can using a key remover damage my keyboard?
No, using a keycap puller correctly won’t damage your keyboard, but always apply gentle pressure.
What’s the best way to prevent keys from getting stuck?
Regular cleaning and the use of protective keyboard covers effectively prevent keys from sticking.