How to Add User to Windows 11 Home Laptop
Introduction
Adding a user to your Windows 11 Home laptop can provide personalized settings and a secure environment for different users. Whether you’re sharing your laptop with family members, friends, or colleagues, setting up separate user accounts can streamline and enhance the user experience. This guide will walk you through the process, explain the preparation steps, and offer troubleshooting tips to ensure a smooth setup.
Understanding User Accounts in Windows 11
Windows 11 offers several types of user accounts, each serving distinct needs. The primary user account, also known as the Administrator account, has full control over the system settings and can manage other user accounts. Standard user accounts have limited control, preventing them from making significant changes but allowing them to use installed applications and access files securely.
The inclusion of user accounts provides a tailored environment for each individual, ensuring privacy and personalized preferences, such as backgrounds, app preferences, and network settings. Understanding these accounts helps you make informed decisions when adding new users and managing permissions.
Preparing Your Laptop
Before adding new users, ensure that your laptop is updated to the latest version of Windows 11 Home. Performing updates enhances software stability and security, ensuring a smooth experience when creating user accounts.
- Check for Updates:
- Open Settings from the Start menu.
- Select Windows Update.
-
Click Check for updates and follow any prompts to install updates.
-
Back up Important Data:
- It’s always wise to back up essential files before making significant system changes. Use an external drive or cloud storage for this purpose.
With your laptop prepared, you are ready to add new user accounts.
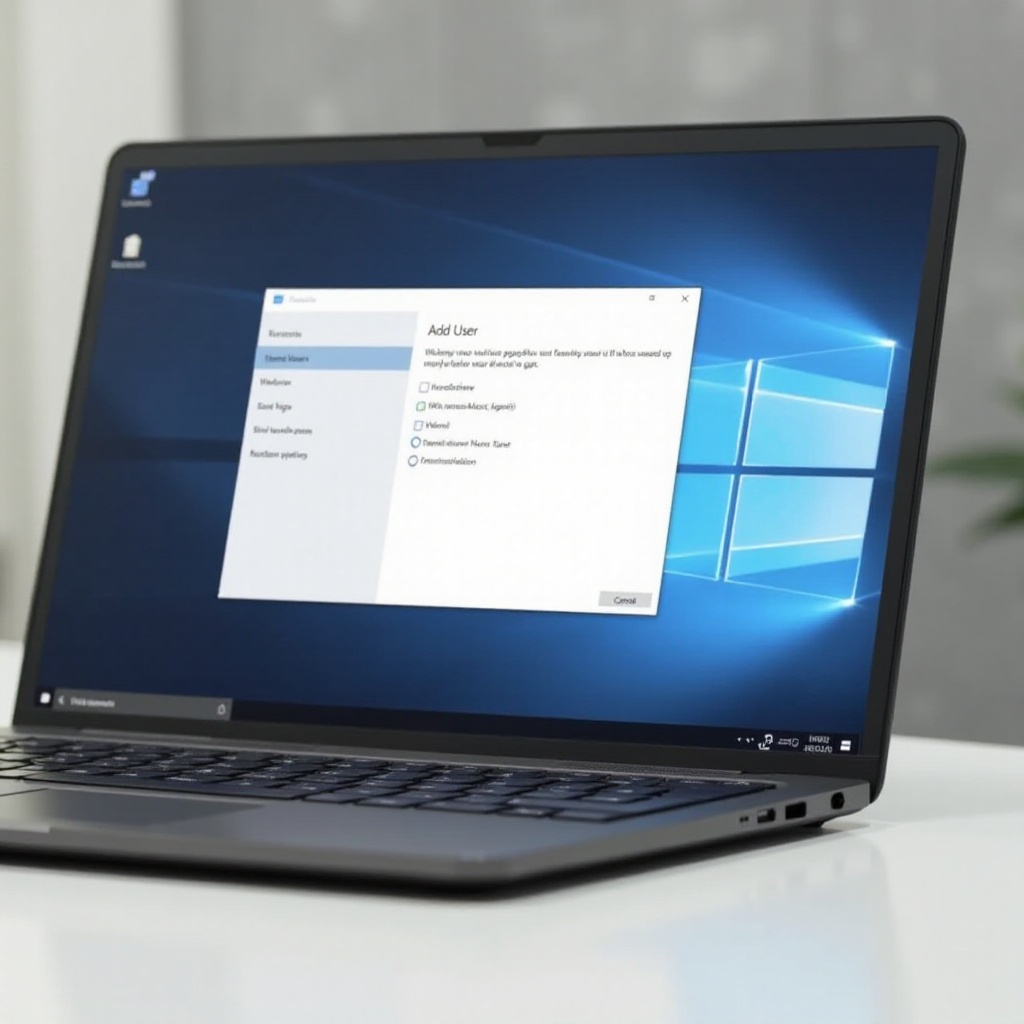
Step-by-Step Guide to Adding Users
Using the Settings App
- Open Settings:
-
Click on the Start menu and select the Settings icon (gear-shaped).
-
Navigate to Accounts:
-
In the Settings window, click on Accounts from the left-hand menu.
-
Access Family & Other Users:
-
From the Accounts menu, select Family & other users.
-
Add a Family Member or Other User:
- Under Your family, you can add family members directly:
- Click Add a family member.
- Choose whether to add a child or an adult.
- Follow the instructions to send an invitation.
- To add non-family users, look for Other users and click Add account:
- Windows will prompt you to sign in with a Microsoft account.
-
If the user does not have a Microsoft account, create one during this setup.
-
Complete the Setup:
- For users with Microsoft accounts, they need to accept the invitation and complete their profile setup.
- For new accounts, follow the on-screen instructions to finalize the setup.
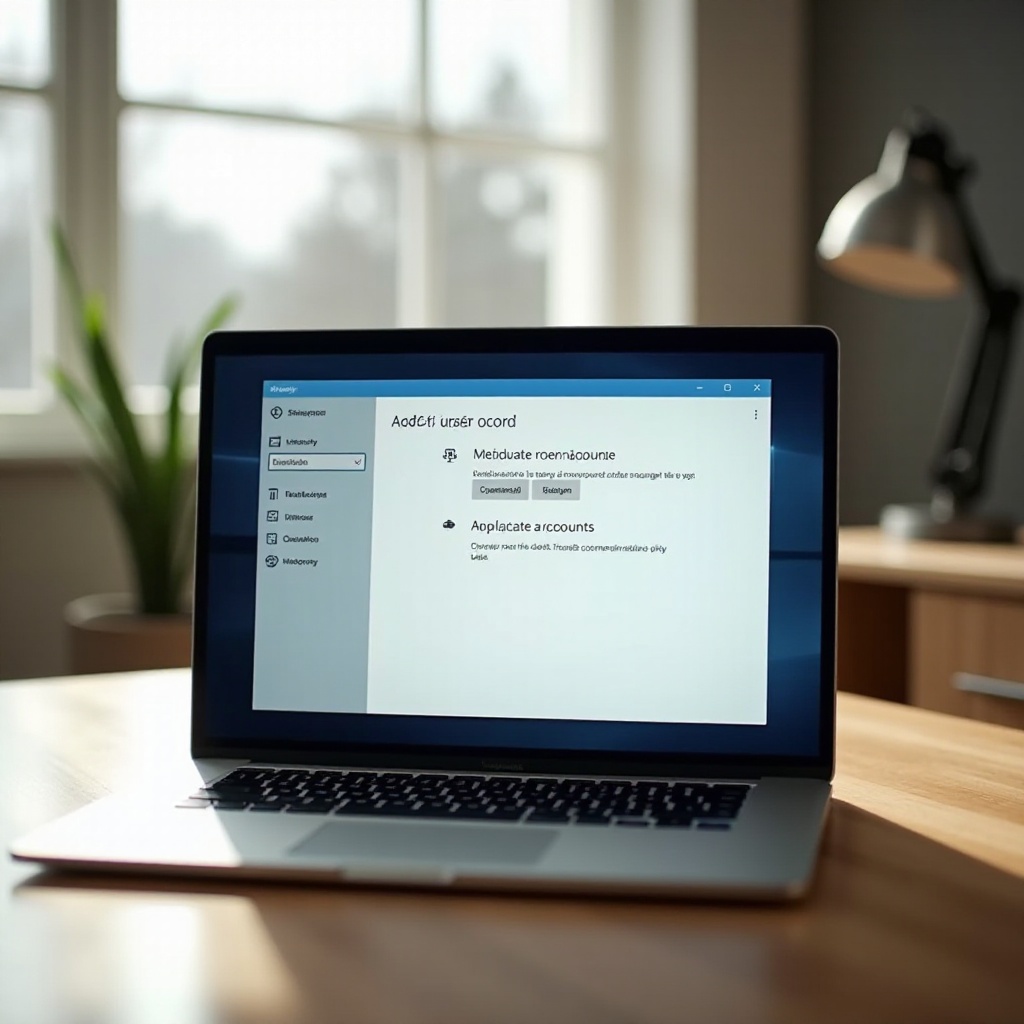
Alternative Method: Using Control Panel
- Open Control Panel:
-
Search for Control Panel in the Start menu and open it.
-
Navigate to User Accounts:
-
Click on User Accounts and then Manage another account.
-
Create New Account:
- Click Add a new user in PC settings and follow the prompts in the Settings app.
Using either method, new user accounts should now be set up on your Windows 11 Home laptop.
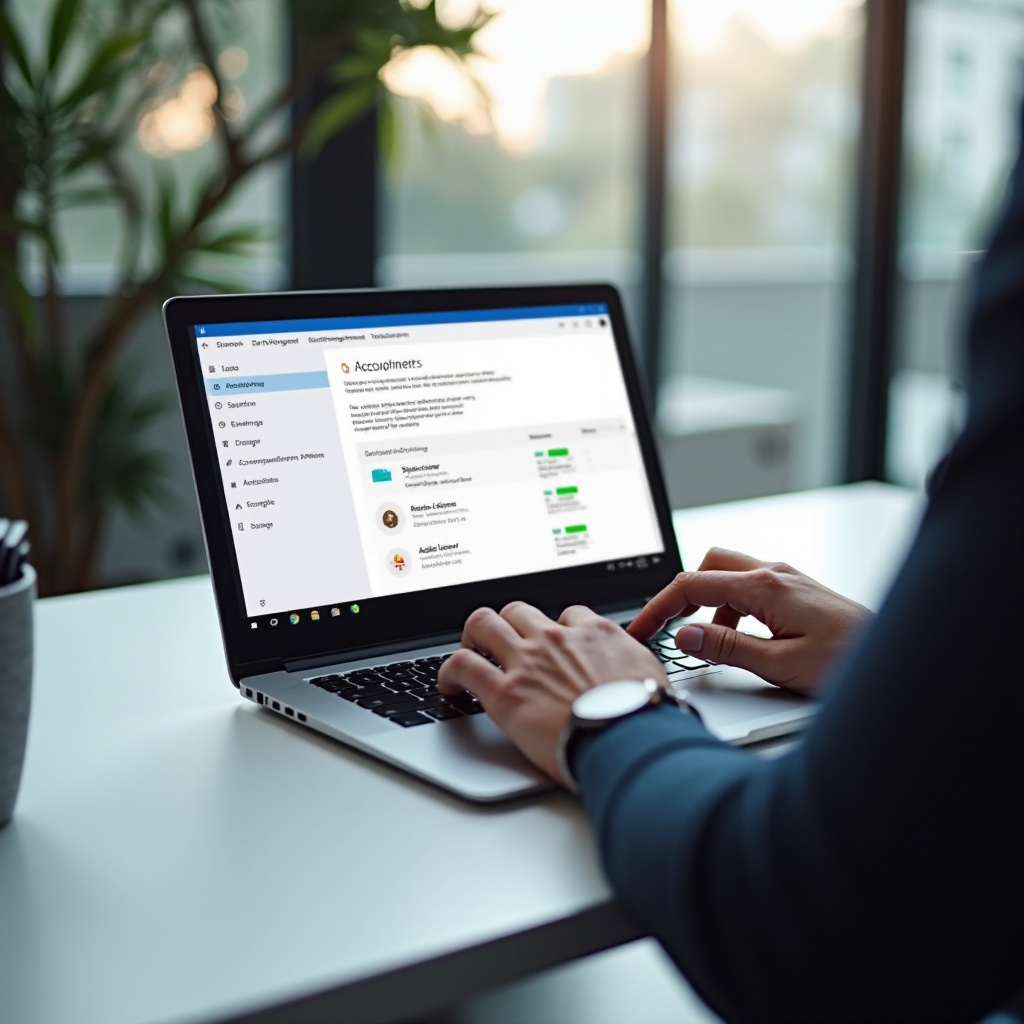
Customizing User Account Settings
Once the new user account is created, you may want to adjust its settings:
- Change Account Type:
- Go to Settings > Accounts > Family & other users.
-
Select the user account and click Change account type to switch between Standard and Administrator.
-
Adjust Sign-In Options:
-
Each user can customize their sign-in options for added security, like PIN, fingerprint, or facial recognition.
-
Manage Permissions:
- Set file and folder permissions to control access. Right-click on a file/folder, select Properties, go to the Security tab, and adjust permissions as needed.
Customizing these settings ensures that each user account aligns with the user’s needs and preferences.
Troubleshooting Common Issues
While adding user accounts is generally straightforward, you might encounter some issues:
- User Account Not Appearing:
- Ensure the user has accepted the invitation for the Microsoft account.
-
Restart your laptop and check again.
-
Cannot Create Account:
- Verify your internet connection during setup.
-
Ensure that Windows Update has been applied successfully.
-
Error Messages:
- Note the error message and search for specific solutions. Common fixes include running the Windows troubleshooter.
By following these troubleshooting tips, you can resolve most issues encountered during the user account creation process.
Conclusion
Creating and managing user accounts on a Windows 11 Home laptop ensures a personalized and secure environment for each user. By following the steps outlined in this guide, you can effortlessly add new users, customize their settings, and resolve potential issues, enhancing your overall Windows experience.
Frequently Asked Questions
How do I add a family member to Windows 11 Home?
Navigate to **Settings** > **Accounts** > **Family & other users**, then click **Add a family member** and follow the prompts.
Can I add a user without a Microsoft account?
Windows 11 primarily encourages Microsoft accounts, but you can create local accounts via the **Other users** section in **Family & other users**.
What should I do if I encounter errors while adding a user?
Check your internet connection, ensure your system is updated, and restart your laptop. If issues persist, refer to Windows error code troubleshooting guides.