How to Swipe Up on iPhone: The Complete Gesture Guide for Home, App Switcher, and Control Center
Introduction
Swiping up on an iPhone can take you Home, open the App Switcher, or reveal Control Center. The exact gesture depends on your model. If you moved from a Home button device or you just picked up a Face ID iPhone, these gestures may feel new. Mastering them will speed up every task, from opening apps to changing settings.
This guide explains how swipe up works on both Face ID and Touch ID iPhones. You will get clear steps, simple tips, and quick drills to turn guesswork into muscle memory. We will also cover accessibility options for hands free or one handed use, plus fixes if your swipe does not register. To prevent confusion, start by confirming which iPhone you have and what each bottom edge swipe does.
Know Your iPhone: Face ID vs. Touch ID and Why Swipe Up Works Differently
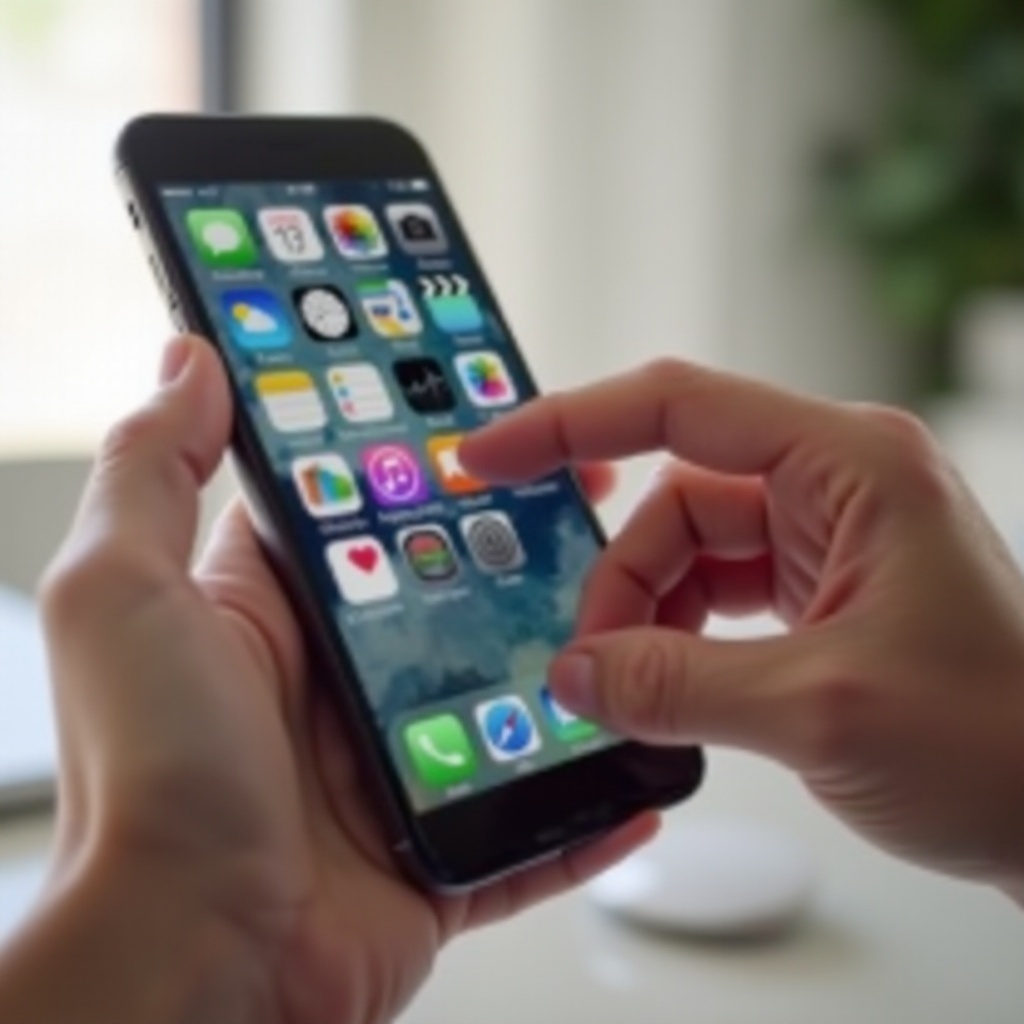
Your hardware decides what a bottom edge swipe will do. Face ID models have no Home button. Apple replaced the Home button with a Home bar along the bottom of the screen. On these iPhones, a swipe up usually takes you Home, and a swipe up with a brief hold opens the App Switcher. Control Center does not come from the bottom on these models. Instead, you open it with a downward swipe from the top right corner of the display.
Touch ID models keep the physical Home button. On these devices, swiping up from the bottom opens Control Center. Going Home uses a press on the button, and the App Switcher opens with a double click on that same button.
To identify your model fast, look for a thin horizontal bar along the bottom of the screen when the phone is awake. If you see that bar, you have a Face ID device. If you see a circular Home button under the screen, you have a Touch ID device. Knowing this difference ensures you use the right gesture every time and saves you from swiping at the wrong edge.
With your model confirmed, you can start with the most frequent move on Face ID iPhones: the simple swipe up to go Home.
How to Swipe Up to Go Home on Face ID iPhones
On Face ID iPhones, the swipe up to go Home replaces the old Home button. Use these steps to make it reliable and smooth:
- Place your finger at the very bottom edge of the screen, directly over the Home bar.
- Swipe straight up in one clean motion. Lift your finger when the Home screen begins to slide into view.
- On the Lock Screen, wait for Face ID to unlock, then swipe up. You may feel a small haptic tap and see the lock icon open.
Tips that make the swipe register every time:
– Start low. Begin the swipe from the extreme bottom edge. Starting too high often fails.
– Keep it straight. A diagonal move can trigger an in app back gesture instead of going Home.
– Do not flick wildly. A steady, medium speed swipe works better than a fast, shallow one.
You can confirm success by watching for the app to shrink as the Home screen slides in. On the Lock Screen, the prompt near the bottom suggests where to start. If an app blocks the edge, try again from a different point along the bottom or exit full screen.
Going Home is the base skill on Face ID devices. The next step adds a short pause to open the App Switcher and move between recent apps.
How to Swipe Up and Hold for the App Switcher on Face ID iPhones
The App Switcher displays your recent apps as cards. It helps you jump between tasks or force quit a frozen app. Here is how to open it with a gesture:
- Place your finger on the Home bar at the bottom edge.
- Swipe up about an inch, then pause with your finger still on the screen until the app cards appear.
- Release your finger when the grid of recent apps displays.
Once you see the cards, you can:
– Swipe left or right to find the app you want.
– Tap a card to open that app.
– Flick a card up to force close a misbehaving app.
Speed moves to try:
– Slide left or right along the Home bar to switch between the two most recent apps without opening the App Switcher.
– Close two apps at once by placing two fingers on adjacent cards and flicking both up together.
If the App Switcher does not show up, you likely lifted your finger too soon. Practice the rhythm of up, hold, release. A consistent pause helps the gesture register. Now that you can jump between apps, you should learn how Control Center opens differently on each model to avoid confusion.
Control Center on iPhone: Swipe Up vs. Swipe Down by Model
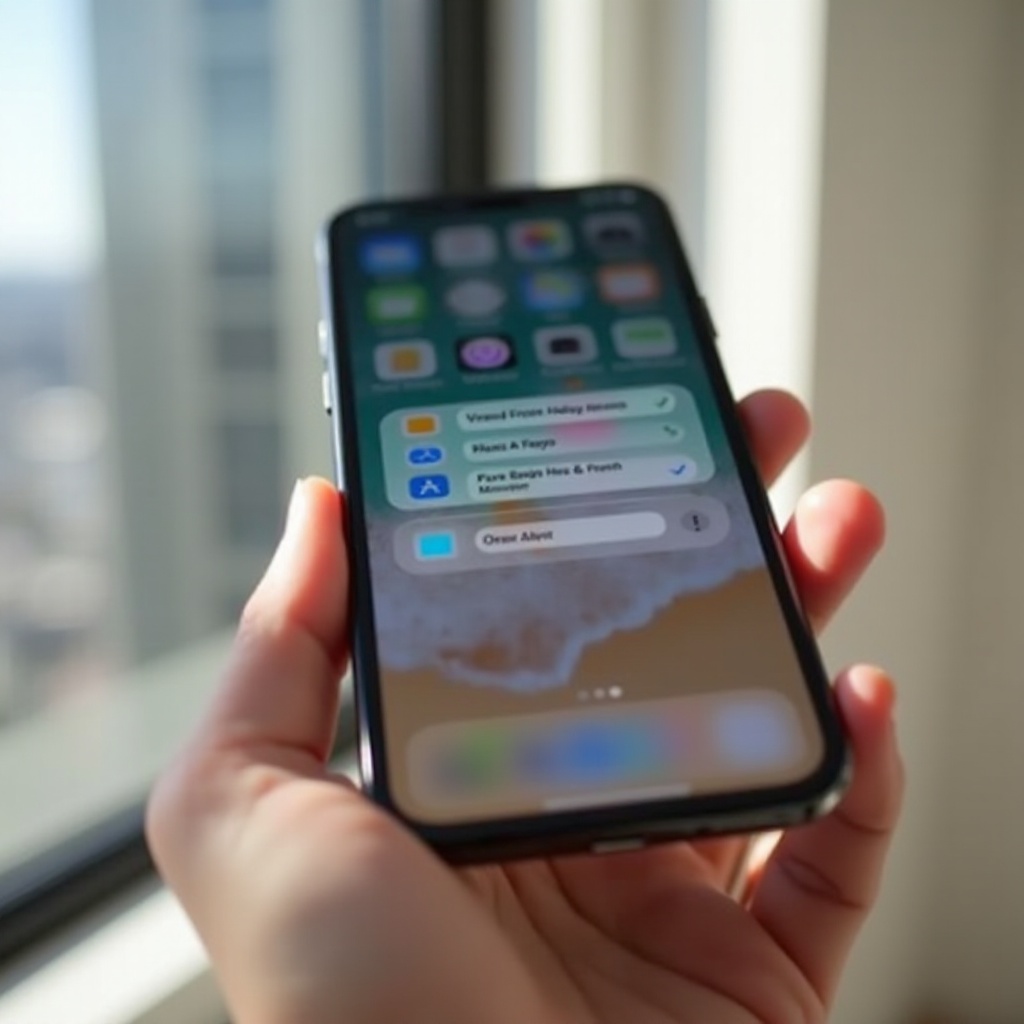
Control Center holds quick toggles for Wi Fi, Bluetooth, Focus modes, brightness, flashlight, and more. The gesture you need depends on your iPhone type:
- Face ID models with no Home button: swipe down from the top right corner where battery and signal icons live. Start at the very top edge and pull straight down.
- Touch ID models with a Home button: swipe up from the very bottom edge of the screen.
Important settings that affect Control Center access:
– Settings > Control Center > Access Within Apps. Turn this on if you want to open it while you use apps.
– Settings > Face ID and Passcode or Touch ID and Passcode > Allow Access When Locked. Enable Control Center to use it from the Lock Screen.
If your swipe does not open Control Center, you may be swiping from the wrong edge for your model, or a full screen app may be capturing edge gestures. Try the Home Screen or Lock Screen to test. With Control Center placement clear, it is time to cover the complete bottom edge toolkit for Touch ID iPhones.
Swipe Up Essentials for Touch ID iPhones
On Touch ID iPhones, the bottom edge swipe opens Control Center rather than going Home. Keep these actions straight:
- Open Control Center: swipe up from the very bottom edge of the display.
- Go Home: press the physical Home button once.
- Open the App Switcher: double click the Home button, then swipe left or right through your recent apps.
You can customize Control Center to speed up frequent tasks:
– Go to Settings > Control Center.
– Add tools like Flashlight, Screen Recording, Low Power Mode, Magnifier, Calculator, or Hearing.
– Drag items into the order you prefer so the ones you use most sit at the top.
If your swipe fails inside an app, test on the Home Screen. Some apps hide the bottom edge in full screen. Exit full screen or back out of the app and try again. With the basics in place for both Face ID and Touch ID, the next section makes gestures easier on tall screens with Reachability.
Reachability and One Handed Use: Make Bottom Edge Gestures Easier
Large screens can make a top right pull or bottom edge swipe hard with one hand. Reachability lowers the top of the interface so you can reach controls and the Home bar without shifting your grip.
Enable Reachability:
– Go to Settings > Accessibility > Touch > Reachability and turn it on.
Use Reachability on your model:
– Face ID models: swipe down on the bottom edge area near the Home bar to drop the top half of the interface.
– Touch ID models: lightly double tap the Home button without clicking it to lower the screen.
With the interface lowered, it becomes easier to swipe down for Control Center on Face ID phones or to hit top buttons in apps. You can also pair Reachability with the App Switcher for one handed multitasking. If you still find swipes difficult or inconsistent, consider accessibility alternatives that replace one or more gestures.

Accessibility Friendly Alternatives to Swiping Up
Apple provides several ways to navigate without edge swipes. These tools reduce strain and help when your hands are busy or your case blocks the bottom edge.
AssistiveTouch:
– Go to Settings > Accessibility > Touch > AssistiveTouch and turn it on.
– A floating button appears. Tap it for a menu of actions.
– Add Home, App Switcher, and Control Center to the top level for fast access.
– Assign custom actions for single tap, double tap, or long press on the floating button.
Back Tap:
– Go to Settings > Accessibility > Touch > Back Tap.
– Choose Double Tap or Triple Tap.
– Map an action like Home or a Shortcut that opens the App Switcher. You can also map Control Center.
Voice Control and Siri:
– Settings > Accessibility > Voice Control > Set Up Voice Control. Then use commands like Go Home or Open Control Center if you have mapped actions through Shortcuts.
– Or use Siri to open settings, toggle radios, launch apps, and reduce the number of swipes you need.
These features offer flexible alternatives that keep you moving even when a gesture is hard to perform. If problems persist when you try to swipe, the next section walks you through fixes from quick checks to deeper settings.
Troubleshooting Swipe Up Not Working: Quick Fixes and Deeper Settings
When a swipe does not register, isolate the cause step by step. Start with simple checks, then move to settings and software.
Quick checks:
– Clean and dry the screen. Oil and moisture reduce touch accuracy.
– Remove the case and screen protector temporarily. Some protectors interfere with edge gestures.
– Test on the Home Screen and Lock Screen. If it works there but not inside an app, the app may block edge swipes in full screen.
– Start from the extreme edge and swipe straight up. Beginning too high is the most common cause of a failed gesture.
Verify the correct gesture for your model:
– Face ID models: swipe up for Home and App Switcher, and swipe down from the top right for Control Center.
– Touch ID models: swipe up for Control Center, use the Home button to go Home, and double click the Home button for the App Switcher.
Check settings that may change or block gestures:
– Settings > Control Center > Access Within Apps. Turn this on if you want to open Control Center inside apps.
– Settings > Accessibility > Zoom. If Zoom is enabled with a controller, it can alter edge behavior. Test with Zoom off.
– Guided Access. If you are stuck in Guided Access, triple click the Side or Home button and enter your passcode to exit.
– Screen Time or device management. Restrictions can limit Control Center or other features on the Lock Screen.
Handle frozen apps and unresponsive screens:
– Face ID models: swipe up and hold to open the App Switcher, then flick the problem app up to close it.
– Touch ID models: double click the Home button to open the App Switcher, then flick the app up.
– Force restart if the screen does not respond. For Face ID models, press volume up, press volume down, then hold the Side button until the Apple logo appears. For iPhone 7 and 7 Plus, hold the Side and Volume Down buttons together until the Apple logo appears. For iPhone 6s and earlier, hold the Home and Top or Side buttons until the Apple logo appears.
Update and reset when needed:
– Settings > General > Software Update to install the latest iOS. Many gesture bugs disappear after updates.
– Update apps from the App Store.
– Reset All Settings in Settings > General > Transfer or Reset iPhone > Reset > Reset All Settings. This does not erase your data but returns system settings to defaults.
Check for hardware issues:
– Open Notes and draw a line along the very bottom edge. If input drops along the edge, the touch layer may have a dead zone. Contact Apple Support for diagnostics and repair options.
After you resolve the cause, a few habits can boost speed and reduce missed swipes. The next section focuses on efficiency.
Pro Tips and Efficiency Boosters: Faster App Switching and Fewer Missed Swipes
You can cut seconds from every task with small changes in technique and setup.
- Switch apps faster. On Face ID models, slide left or right along the Home bar to jump between recent apps without opening the App Switcher.
- Master the App Switcher rhythm. Count one and as you pause during the swipe up hold. Consistency matters more than speed.
- Use Spotlight to open apps without swiping through pages. On the Home Screen, swipe down in the middle, type the app name, and tap it.
- Customize Control Center. Add the toggles you use every day and remove those you rarely touch. Place top picks at the top of the panel.
- Turn on Reachability for tall screens. Lower the interface, then make your top right pull for Control Center with less stretch.
- Tweak touch behavior if gestures misfire. Settings > Accessibility > Touch > Touch Accommodations lets you adjust hold duration and ignore repeat taps.
- Keep edges clean. Wipe the bottom and top edges with a microfiber cloth to improve touch accuracy.
With speed under control, consider how gestures affect privacy. Quick access is great, but you may want to limit what others can do from the Lock Screen.
Security and Privacy Considerations for Bottom Edge Gestures
Control Center can change radios, Focus modes, and other settings without unlocking your phone. Choose where and when it is available.
- Lock Screen access. Go to Settings > Face ID and Passcode or Touch ID and Passcode, then toggle Control Center under Allow Access When Locked to suit your needs.
- Access Within Apps. Decide if you want Control Center available inside apps. You can disable it in Settings > Control Center to prevent accidental pulls during games or videos.
- Quick disable Face ID. Press and hold the Side button plus either volume button to bring up the power screen. This requires your passcode next time and protects your data.
- Remove Screen Recording if you share your device often. This avoids accidental captures and keeps your content private.
Once you set the right balance between convenience and security, a short practice routine cements these gestures for everyday use.
Practice Plan: A Two Minute Routine to Master Swipe Up on iPhone
Build muscle memory with a quick daily drill. These reps reinforce start position, direction, and timing.
- 30 seconds: From any app, swipe up to go Home 10 times. Start at the bottom edge each time.
- 30 seconds: Open the App Switcher 10 times. Swipe up and hold until the cards appear, then exit.
- 20 seconds: On Face ID models, practice Control Center with a top right swipe down 10 times. On Touch ID models, open Control Center with a bottom edge swipe 10 times.
- 20 seconds: Slide left and right along the Home bar 10 times to switch between your last two apps.
- 20 seconds: Use Reachability three times, then open Control Center while Reachability is active.
- 20 seconds: If you use AssistiveTouch or Back Tap, trigger Home and Control Center five times each.
After a week of short sessions, you will move through your iPhone without thinking about how you swipe.
Conclusion
Mastering swipe up starts with knowing your model and using the correct edge. Face ID iPhones use the bottom edge for Home and the App Switcher and the top right for Control Center. Touch ID iPhones use the bottom edge for Control Center and the Home button for navigation. Add Reachability for large screens, tailor Control Center, and set accessibility shortcuts that fit your hands and habits. If a swipe fails, clean the screen, check the edge, review settings, and update your software. With consistent practice and the tips above, your navigation will feel natural, fast, and reliable.
Frequently Asked Questions
Why does Control Center not open with a swipe up on my iPhone
On Face ID models, Control Center opens with a swipe down from the top right corner, not a swipe up. On Touch ID models, swipe up from the bottom edge to open it.
How do I close or force quit apps with swipe up on my iPhone
On Face ID models, swipe up and hold to open the App Switcher, then flick the app card up. On Touch ID models, double click the Home button, then flick the card up.
Can I change what the swipe up gesture does on my iPhone
You cannot remap the system swipe up. Use AssistiveTouch, Back Tap, or Shortcuts to add alternatives for Home, App Switcher, or Control Center, and customize Control Center toggles.